Things have been progressing nicely on the XJS. My day job has had a lot of overtime available recently, so I've been taking advantage of that and working a couple of hours of an afternoon to give me spending money for the project.
I've still been tidying up a lot of loose ends, mostly interior and dash board electrical related.
The centre console panel has been customised a little, I filled in the ashtray holes and went with a smooth, plush top look, reminiscent of low volume production cars of the era:

As I was in that area, I went ahead and cleaned up the power window switches. They were very grubby and corroded inside after 40 odd years. They got disassembled, thrown into the ultrasonic cleaner in a mild, warm caustic degreaser solution (which knocked off most of the corrosion), then overnight in a mild phosphoric acid solution at room temperature. (If you haven't got an ultrasonic cleaner, and own older cars, you should consider buying one. They have so many uses, especially carbs and small engine parts). Extremely happy with the results, and very little effort involved for an excellent result. Before:

And after:
 The printed circuit on the rear of the instrument cluster is causing me issues. It has delaminated in some areas and a few of the contact tabs are playing up. I knew I should've bought the NOS printed circuit on Ebay a few months ago, but had a tightass moment! There are some ideas on how to permanently repair these problems kicking around in my head though.
Whilst I was tidying up electrical bits, I printed off some labels at work for the new auxillary fuse and relay boxes. Make future use easy and gives a sort of finished look:


As I was in the engine bay, I also fitted the low fluid level float I finally managed to find new. Was in stock in Japan (this is a Mazda reservoir) and not too badly priced:


Also ordered some bits and pieces to finish off and fit the tail lights. After much thought, I decided to try and go with NOS seals and gaskets for the tail lights, nothing looks nicer than new rubbers in these areas, and they stop leaks, which cause rust!
I particularly liked the original packaging they came in. I knew CAV were once under the Lucas umbrella, but I didn't know Rotax was.....an interesting historical tidbit:


Couldn't bring myself to throw out the paper packaging!
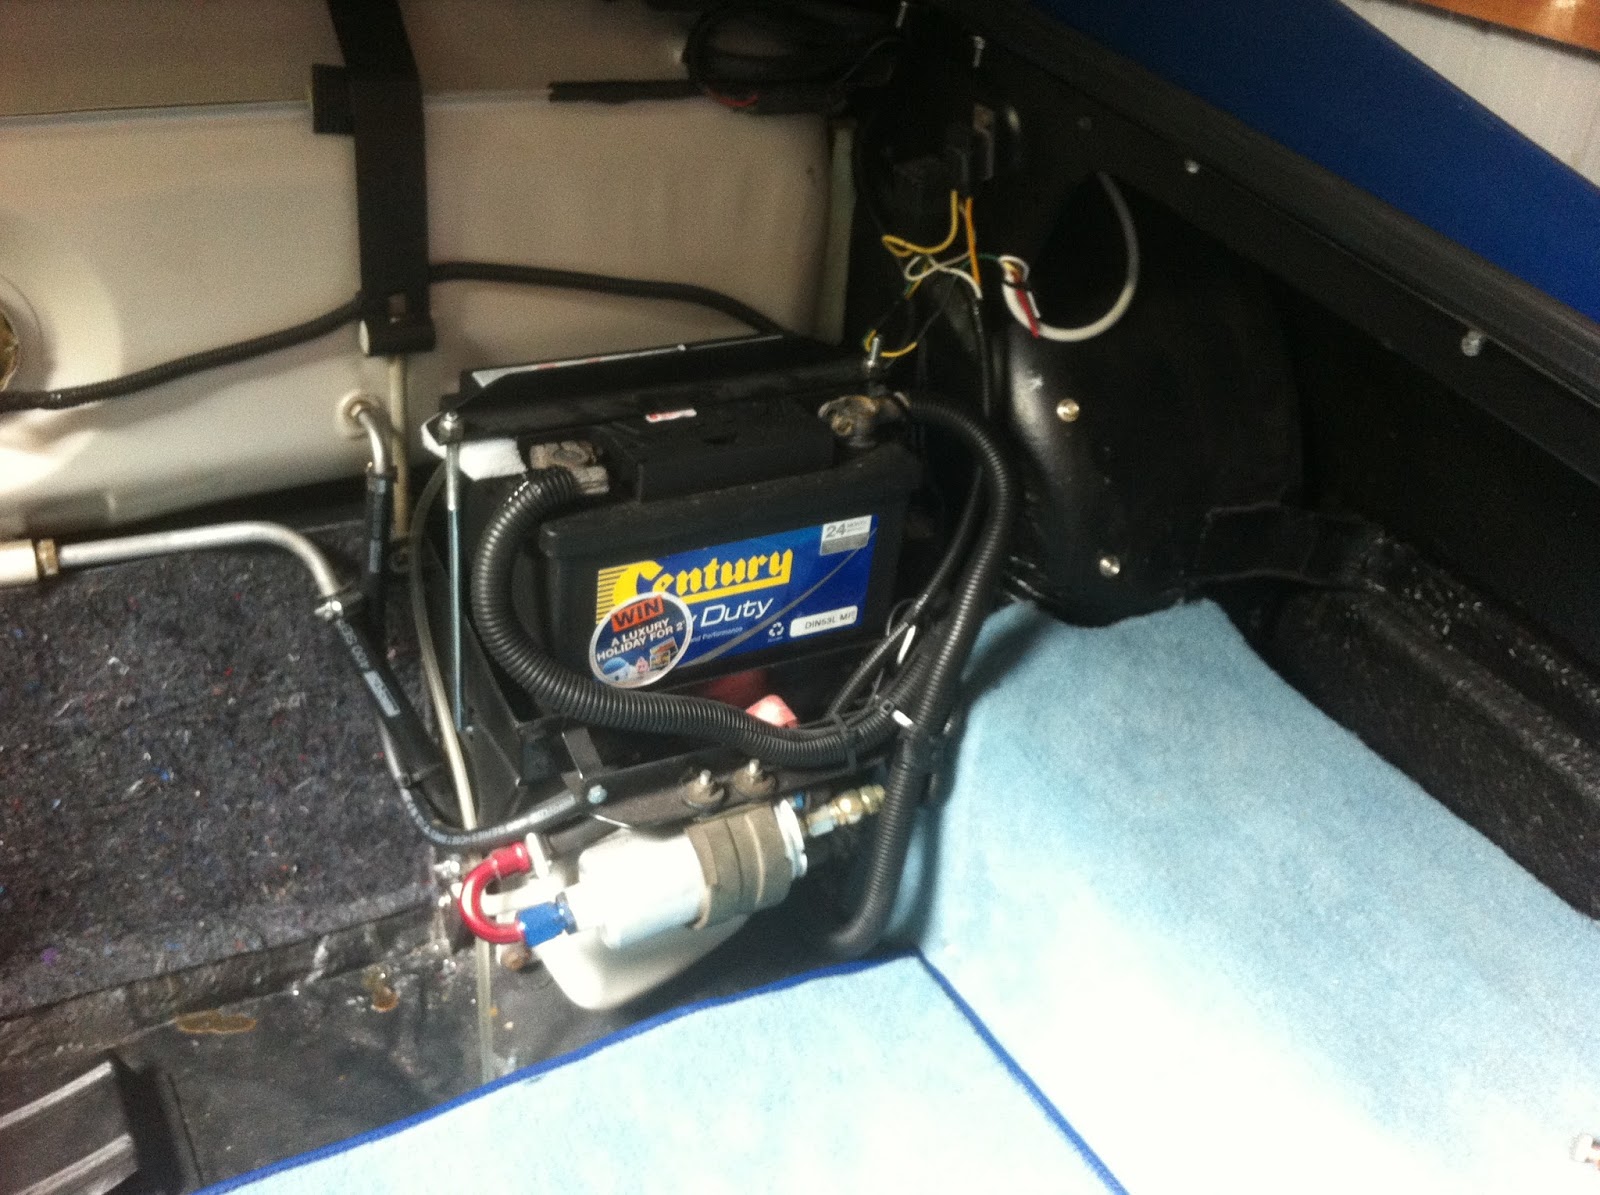
Also took some time out to do something about the ugly corner in the boot we don't want to talk about. As I now have a non stock fuel pump and line setup, I went ahead and made a cover for the mess that is the battery tray and fuel pump installation. Hopefully that satisfies the registration people. It sure looks a lot nicer, if nothing else!:


Got my act together and finished off the wheels as well. Bolted them up to the drive axle, gave them a final polish with scotchbrite, then a few coats of clear. I wanted the machined look of the original wheels, plus a slightly custom look with the brushed finish. They turned out nicely I think:


Decided on tyres. As any of you with older 14" and 15" wheels will know, decent tyres in these sizes are VERY hard to find. I settled on some Toyo Proxes CF2 tyres, with a 96H rating, so I have the load rating I need, but ONLY a 210km/h speed rating. I think that will be adequate, considering I don't ever plan to exceed 210 km/h on 70 series tyres, even though the car is probably still quite capable of exceeding that!
I chose the Toyo tyres because they are a performance touring tyre and I've had very good experience with Toyos on many cars currently and in the past. Plus, some came up for sale on a discount, so my inner tightass was very pleased with that!:

 Here they are fitted. 70 series tyres are quite shocking these days, where a 55 series tyre is "big"! They do fill out the wheelwells and look the part on the car though, and seem to have quite firm sidewalls, which is a good thing:

So, with the need to get the Lolvo into the garage for a coat of paint on the roof, and no more excuses to be found for avoiding taking the car off the stands, it was time for the car to sit on it's own wheels again.
And very pleased I was when the car settled down nicely, with no squeaks, creaks or pops, and also onto a nice level stance. I was quite concerned that the aftermarket front springs that came with the car were too stiff, but they seem spot on, which is a relief:


And out of the garage she went, under her own power:

I also took the opportunity to take a run around the block and the car performed perfectly. Not a squeak, pop, thump or rattle to be heard. All very smooth and as it should be, which was a huge relief. I thought I'd videoed the trip, but my phone decided otherwise!:

It's quite blue and the Kent wheels look just great!:


And the Lolvo in the garage getting some love. I have to get the roof painted whilst we still have some warmer weather. There are only 4 to 6 weeks left when I can be sure I'll have 20+ degree days suitable for painting. But the XJS will soon be back in there for work to continue!:


Still plenty left to do. I have to refinish the rubber bumpers and fit headlights, grille, finish instrument cluster etc, then go right over the car from end to end and look everything over with a critical eye. It's not that far off being completed, but I don't want to rush at the end and have to go back and redo the work.
I've still been tidying up a lot of loose ends, mostly interior and dash board electrical related.
The centre console panel has been customised a little, I filled in the ashtray holes and went with a smooth, plush top look, reminiscent of low volume production cars of the era:

As I was in that area, I went ahead and cleaned up the power window switches. They were very grubby and corroded inside after 40 odd years. They got disassembled, thrown into the ultrasonic cleaner in a mild, warm caustic degreaser solution (which knocked off most of the corrosion), then overnight in a mild phosphoric acid solution at room temperature. (If you haven't got an ultrasonic cleaner, and own older cars, you should consider buying one. They have so many uses, especially carbs and small engine parts). Extremely happy with the results, and very little effort involved for an excellent result. Before:


Whilst I was tidying up electrical bits, I printed off some labels at work for the new auxillary fuse and relay boxes. Make future use easy and gives a sort of finished look:


As I was in the engine bay, I also fitted the low fluid level float I finally managed to find new. Was in stock in Japan (this is a Mazda reservoir) and not too badly priced:


I particularly liked the original packaging they came in. I knew CAV were once under the Lucas umbrella, but I didn't know Rotax was.....an interesting historical tidbit:


Couldn't bring myself to throw out the paper packaging!
Also took some time out to do something about the ugly corner in the boot we don't want to talk about. As I now have a non stock fuel pump and line setup, I went ahead and made a cover for the mess that is the battery tray and fuel pump installation. Hopefully that satisfies the registration people. It sure looks a lot nicer, if nothing else!:

Got my act together and finished off the wheels as well. Bolted them up to the drive axle, gave them a final polish with scotchbrite, then a few coats of clear. I wanted the machined look of the original wheels, plus a slightly custom look with the brushed finish. They turned out nicely I think:


Decided on tyres. As any of you with older 14" and 15" wheels will know, decent tyres in these sizes are VERY hard to find. I settled on some Toyo Proxes CF2 tyres, with a 96H rating, so I have the load rating I need, but ONLY a 210km/h speed rating. I think that will be adequate, considering I don't ever plan to exceed 210 km/h on 70 series tyres, even though the car is probably still quite capable of exceeding that!
I chose the Toyo tyres because they are a performance touring tyre and I've had very good experience with Toyos on many cars currently and in the past. Plus, some came up for sale on a discount, so my inner tightass was very pleased with that!:


No comments:
Post a Comment