Rust repairs are the worst part of any big restoration. They take forever if done properly and it looks like you haven't achieved anything. All you have is a slightly less rusty car. Nothing shiny or cool happens at this stage, and it can be demoralising!
I've been fairly busy reconstructing the passenger footwell area and it's nearly done. I just need to finish weld some areas and repair the false foowtwell.
It took me some time to come up with this final shape:

Also had to repair some rust around the forward end of the transmission tunnel, that patch took some time:

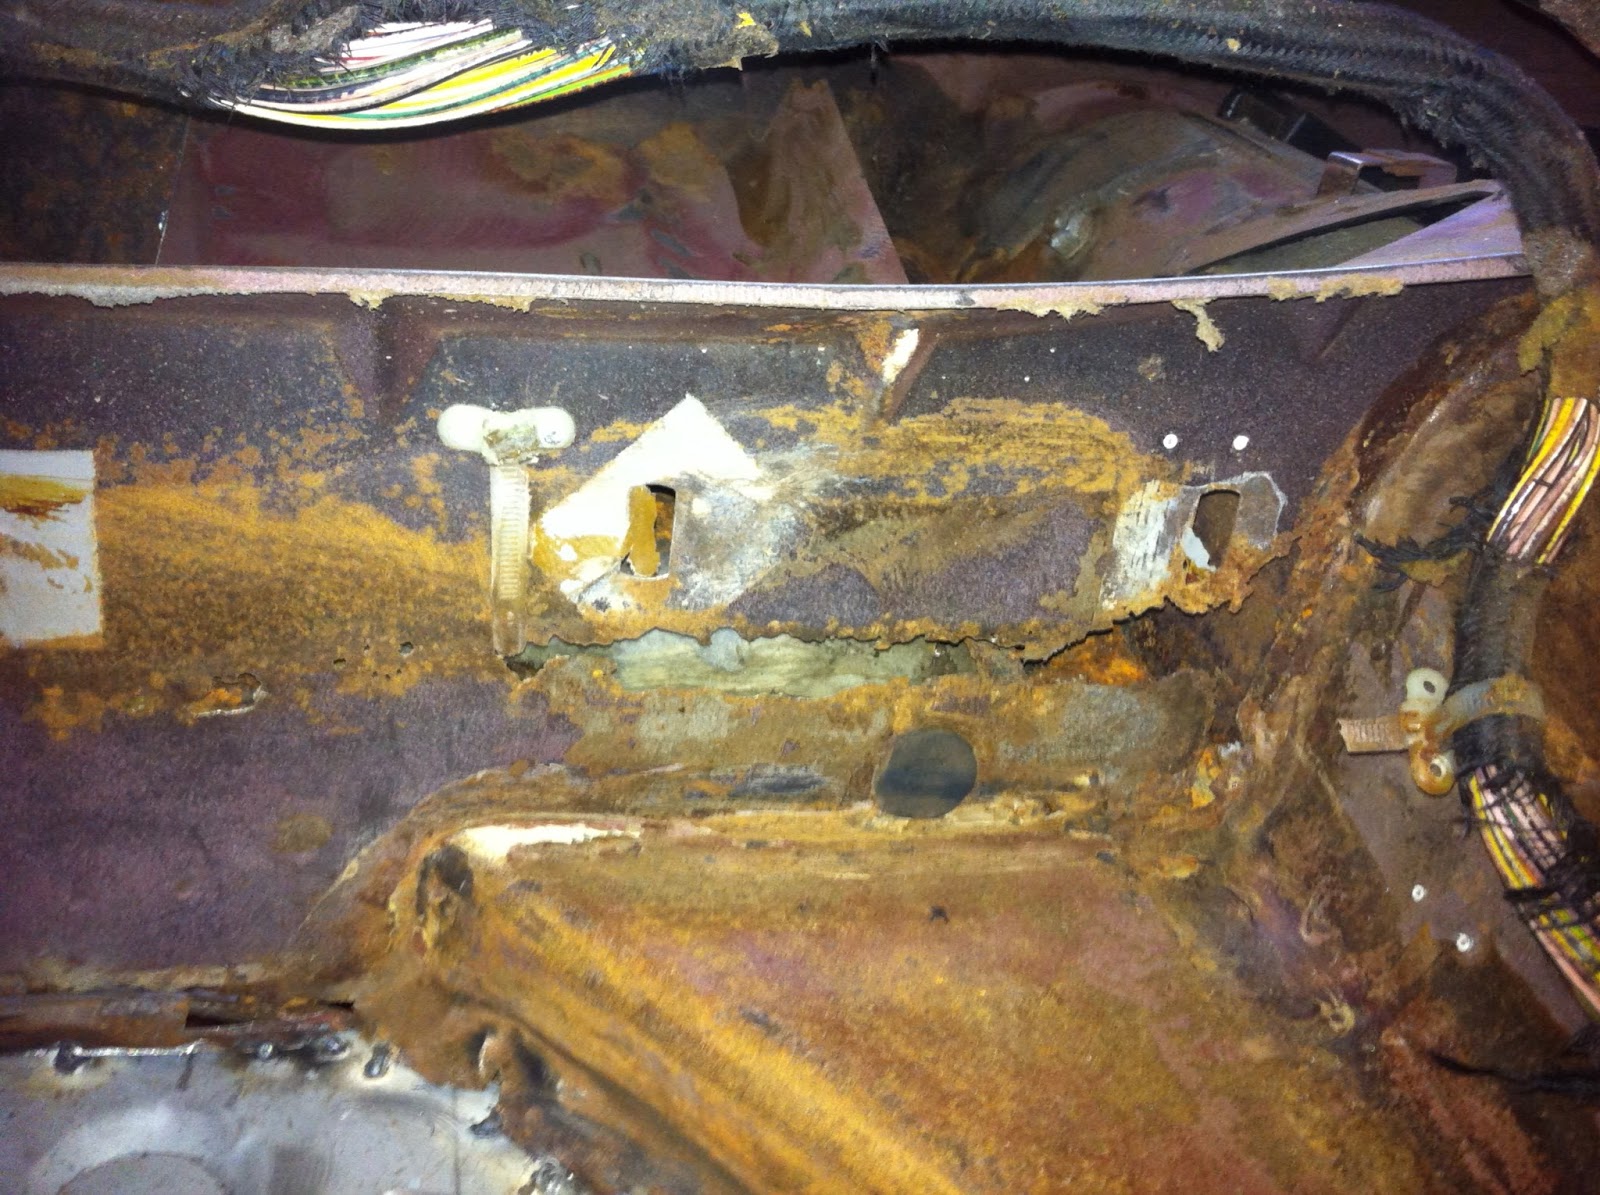
As you can see, I pulled the false footwell panel well up and out of the way for access, this was made easier by the fact it had rusted away from the floor at it's base, and the sill damage had also pulled it away.
I also straightened the inner sill where it had bent in the impact, and cut a new piece to weld over it. This makes it nice and strong, and straight! Now the inner sill and floor are repaired, that whole area is very strong and I can finish the repairs to the outer sill with a good reference point. Panel repairs are all about doing a layer at a time, ensuring things are kept as they were:


I've also managed to find a good used radiator crossmember and weld that in. For some reason, the crossmember in this car had been removed, it looks like for another vehicle. I guess rust is common in these pieces, at least this one is rust free:


I've been fairly busy reconstructing the passenger footwell area and it's nearly done. I just need to finish weld some areas and repair the false foowtwell.
It took me some time to come up with this final shape:


As you can see, I pulled the false footwell panel well up and out of the way for access, this was made easier by the fact it had rusted away from the floor at it's base, and the sill damage had also pulled it away.
I also straightened the inner sill where it had bent in the impact, and cut a new piece to weld over it. This makes it nice and strong, and straight! Now the inner sill and floor are repaired, that whole area is very strong and I can finish the repairs to the outer sill with a good reference point. Panel repairs are all about doing a layer at a time, ensuring things are kept as they were: