I've been thinking about the interior for ages, considering how I wanted to go about it. Colours, originality etc.
The interior kind of snuck up on me as something that was next in the schedule. I have been fitting underfelt, but only as a fill in task whilst I waited for things to arrive.
Being close to christmas, and with a birthday close to christmas as well, my missus asked me if I would like some money to put towards the interior. This kicked my mind into gear and forced me to firm up the colour scheme for the car's insides.
I had been kicking around beige (safe, easy to match, every other Jag is beige....BORING!). A second option was a biscuit/coffee sort of colour. This goes really well with blues, and fairly easy to find decent colour choices. The third option was cop out black. Simple, easy to colour match everything, goes with all colours, but makes an interior look very dark and depressing.
I'd also been considering blue of some sort and after looking into the various blue options, went that way. I've also owned a few cars with blue interiors and I quite liked them.
This is a photo of a Supra I owned in blue. You can see the seats, not bad and the overall blue look I sort of have in mind for the XJS :

Ordered some cut pile carpet and some interior and headlining material. The carpet is already here as it was locally sourced, but the cloth and velour for the headlining are coming from the US, so I am waiting for them to arrive.
The blue carpet I chose. The darker colours looked a bit too dark for my liking, and carpets work better if they are lighter than the upholstery:

All the interior carpet is cut out now and all the permanently attached carpet is glued into place. The floor mats have been left oversize until the vinyl arrives, so I can final trim and bind them. The floor mats will be removable, as will the floor underfelts, to ensure I can dry the carpets out in the future if they get wet. No photos of the carpets as yet, the job isn't finished and I just don't have any photos to hand.
I have also started on the seats. The rear seats appeared in good condition, but the backing boards needed stabilising urgently. They had both been wet in the past and had formed into weird bends and generally deteriorated. The hand stitching holding the listings in place were also pulling through the cardboard, ruining the appearance of the upholstery.
I decided to apply a layer of fibreglass to the back of them to stabilise and reinforce them, and it worked very well.
This is the back being set up. I clamped straight edges along top and bottom to get the back squared up again. I glassed up the majority of the back, let that cure, then the stiffness of the new glass helped hold the back in shape whilst I finished off the top and bottom edges:


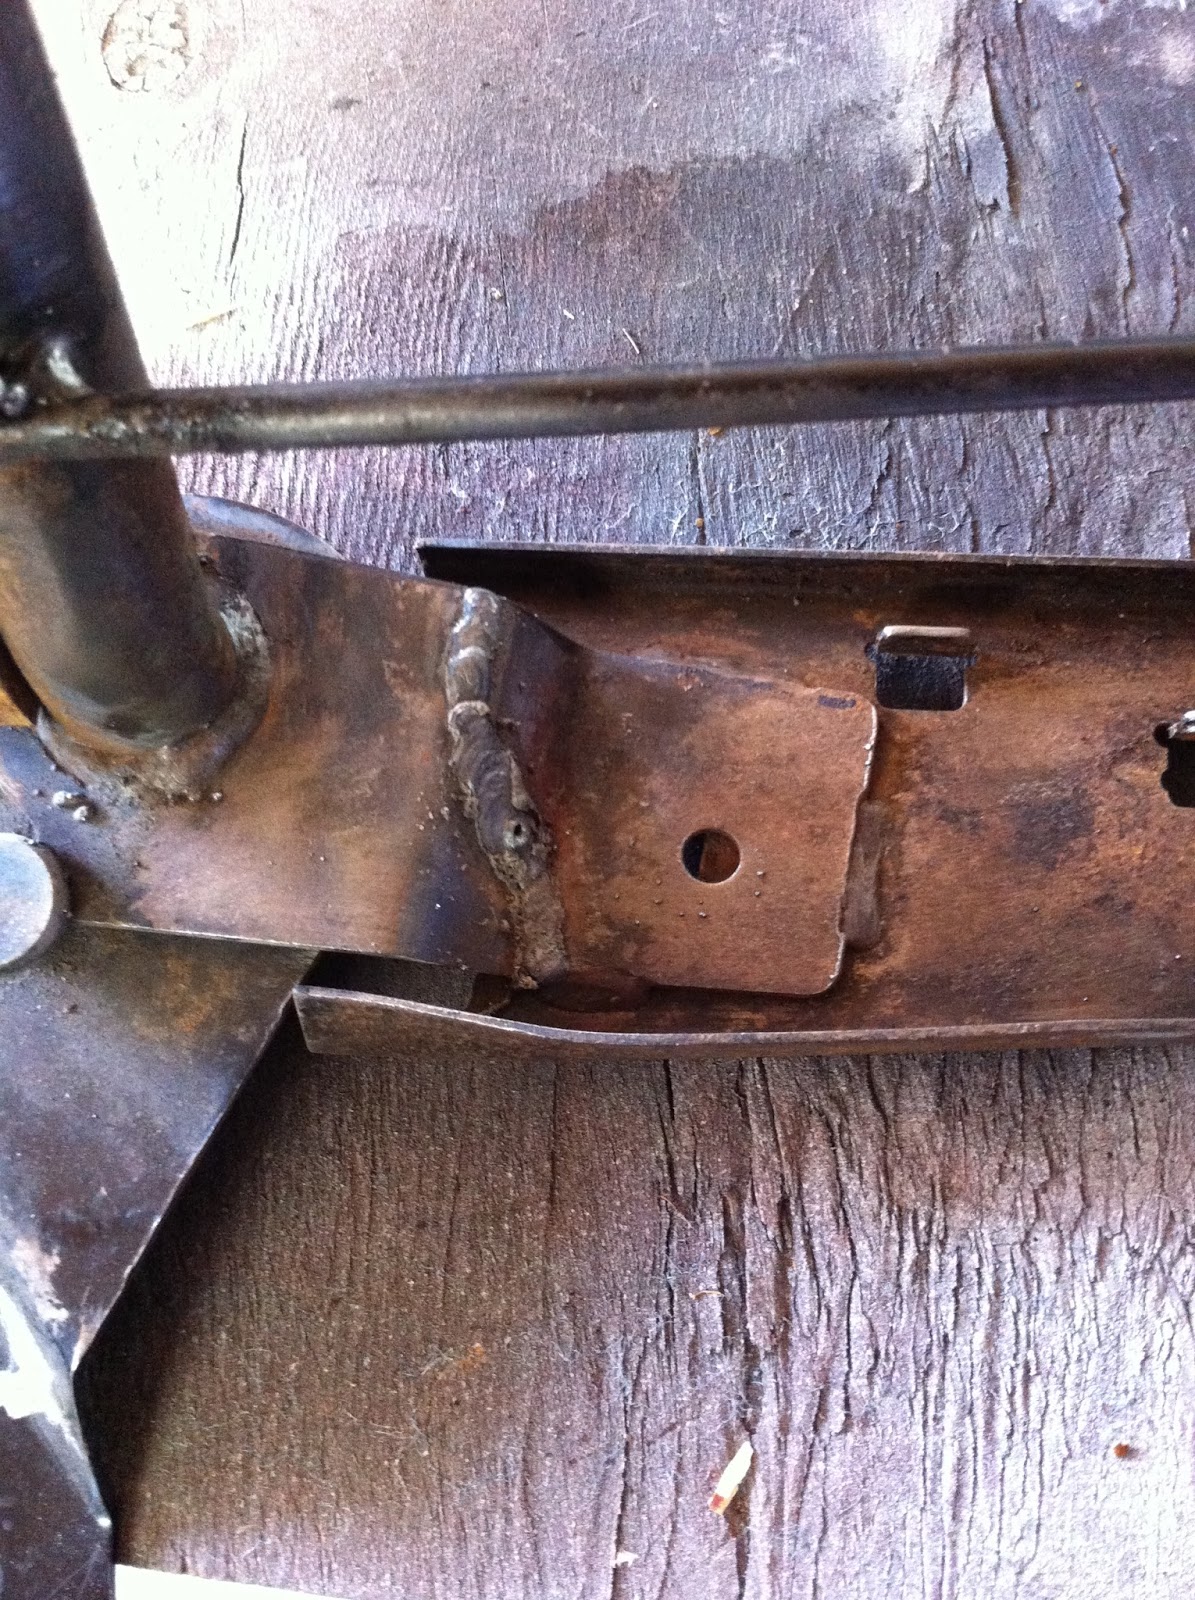
The base was in really bad condition. It was torn right through the transmission tunnel area where it is very narrow and a bad repair had been done here before with contact cement and vinyl.
I started by clamping this area up and repairing it first, again using battens, but this time the batten also ensured the front of the base was square and parallel before repair:


Once that repair was done, I stapled a piece of wood on the face side of the front edge of the seat. This allowed me to glass right up to the edge and keep it square and straight, then the wood could be simply twisted off the staples and then the staples cut flush. Again, this worked well. I don't seem to have many photos of the base, but you can see it was in quite poor condition. In some areas, the board was almost disintegrated and it was a matter of laying the glass up over it as best I could. It all held together though, so a win:

The front seats were good and bad news. The passenger side is in pretty reasonable condition, but the driver's side is bad, really bad. The diaphragm is torn badly and the base foam is terrible, again with dodgey repairs. The seat back frame was also cracked, I am not sure how it hadn't failed, but the crack was 95% across the main support!:

Ended up repairing and reinforcing the crack. I'd like to say it was a design flaw, but I don't think Jaguar designed the seat to last 37 years!


To be honest though, considering I still need to repair the seat base with either webbing or a new diaphragm, plus build up all new foam for it, and the fact the stock early XJS seats are terribly unsupportive and plain to look at, I am seriously considering other seats for the car. I need to work on and retrim what I have now anyway, so why not find and modify something much better to fit?
Later XJS seats are out, as the sellers seem to think they are rare and worth $750 a pair.....
I'm leaning towards early Supra or Celica seats as I've owned a couple of early Supras and they were extremely comfortable seats and adjustable (not power seats either), they are cheap and they suit the interior of the car. They are also out of a 2 door vehicle so are slim and tilt forward. We will see......
The interior kind of snuck up on me as something that was next in the schedule. I have been fitting underfelt, but only as a fill in task whilst I waited for things to arrive.
Being close to christmas, and with a birthday close to christmas as well, my missus asked me if I would like some money to put towards the interior. This kicked my mind into gear and forced me to firm up the colour scheme for the car's insides.
I had been kicking around beige (safe, easy to match, every other Jag is beige....BORING!). A second option was a biscuit/coffee sort of colour. This goes really well with blues, and fairly easy to find decent colour choices. The third option was cop out black. Simple, easy to colour match everything, goes with all colours, but makes an interior look very dark and depressing.
I'd also been considering blue of some sort and after looking into the various blue options, went that way. I've also owned a few cars with blue interiors and I quite liked them.
This is a photo of a Supra I owned in blue. You can see the seats, not bad and the overall blue look I sort of have in mind for the XJS :

Ordered some cut pile carpet and some interior and headlining material. The carpet is already here as it was locally sourced, but the cloth and velour for the headlining are coming from the US, so I am waiting for them to arrive.
The blue carpet I chose. The darker colours looked a bit too dark for my liking, and carpets work better if they are lighter than the upholstery:

I have also started on the seats. The rear seats appeared in good condition, but the backing boards needed stabilising urgently. They had both been wet in the past and had formed into weird bends and generally deteriorated. The hand stitching holding the listings in place were also pulling through the cardboard, ruining the appearance of the upholstery.
I decided to apply a layer of fibreglass to the back of them to stabilise and reinforce them, and it worked very well.
This is the back being set up. I clamped straight edges along top and bottom to get the back squared up again. I glassed up the majority of the back, let that cure, then the stiffness of the new glass helped hold the back in shape whilst I finished off the top and bottom edges:


The base was in really bad condition. It was torn right through the transmission tunnel area where it is very narrow and a bad repair had been done here before with contact cement and vinyl.
I started by clamping this area up and repairing it first, again using battens, but this time the batten also ensured the front of the base was square and parallel before repair:


The front seats were good and bad news. The passenger side is in pretty reasonable condition, but the driver's side is bad, really bad. The diaphragm is torn badly and the base foam is terrible, again with dodgey repairs. The seat back frame was also cracked, I am not sure how it hadn't failed, but the crack was 95% across the main support!:


Later XJS seats are out, as the sellers seem to think they are rare and worth $750 a pair.....
I'm leaning towards early Supra or Celica seats as I've owned a couple of early Supras and they were extremely comfortable seats and adjustable (not power seats either), they are cheap and they suit the interior of the car. They are also out of a 2 door vehicle so are slim and tilt forward. We will see......